Written on 11:24 PM by Cara
*note: For some reason, Blogger wouldn't take these pictures off my hardrive so I had to use the ones I had in Photobucket. So the pictures are slightly pixelated. When we set them back up at Christmas this year I'll take new pictures and replace these. Sorry about that.*
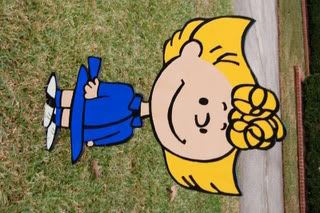
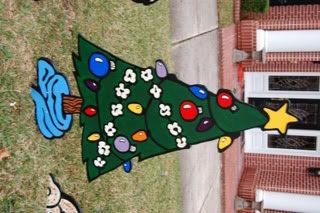
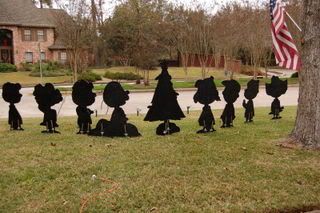
I made the Charlie Brown guys for our yard at Christmas. I always wanted cute stuff for the yard and the Charlie Brown Christmas show is my favorite, so it was an easy choice. A Pea at 2Ps gave me the idea and I ran with it. I'll show some of the process and a few how-tos at the bottom.
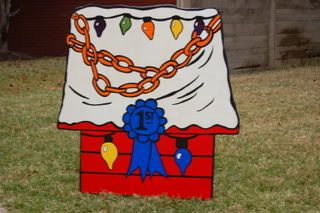
Right side of the circle drive:
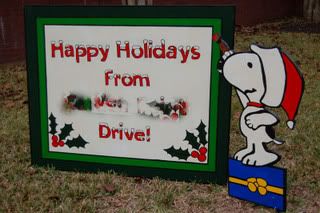
Left side of the circle drive:
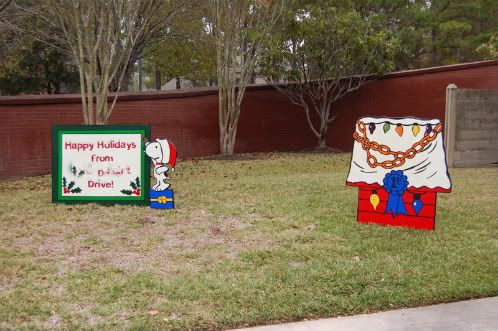
Inside the circle drive:
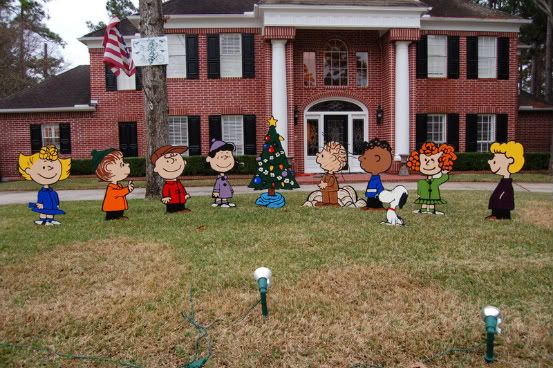
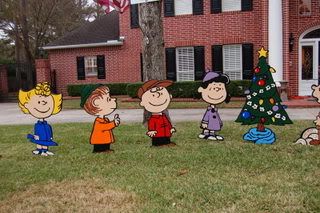

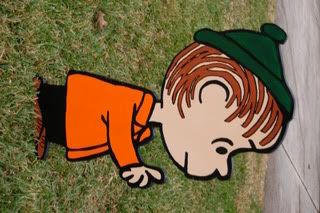
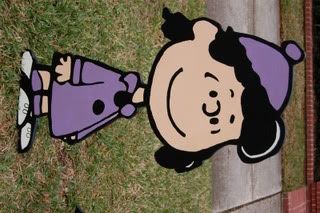
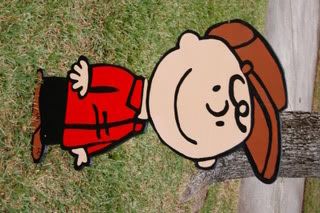
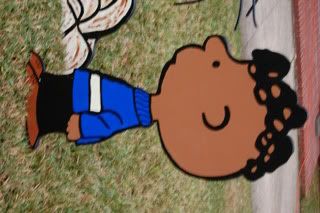
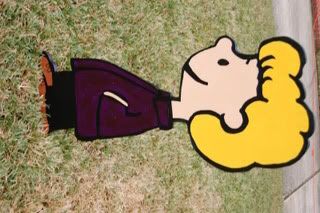
The Guys:
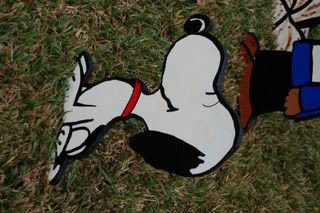
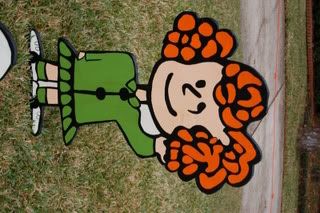
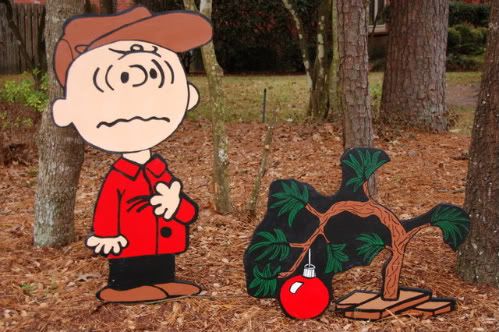
I used high quality 3/4" plywood that had a "good" side. I used plain old craft paint and paint pens you get at Walmart or a craft store. Here is the back view, I painted the edges and backs black. I attached "rebar stakes" I found at Lowe's to them to stick them in the ground.
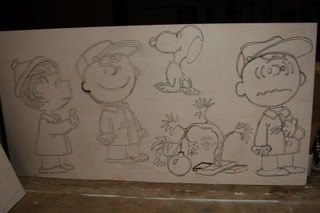
I got the pictures from books and the internet. I used a projection machine called an "Art Tracer Jr." I bought at Michaels to project the images onto the plywood, it uses regular images on paper, not transparancies like an overhead projector. You have to use thick outlines to keep the ratio right so they look right. I drew them with black paint pens, painted in the colors with brushes and craft paint, and then filled out the lines with the paint pens. My husband cut them all out with a jigsaw and I sanded the edges well.
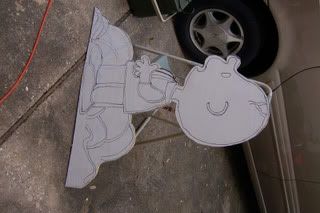
Being sanded to get ready to paint:
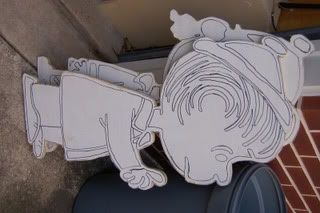
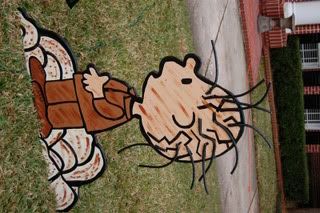
A note about PigPen's hair. As you can see, I tried to draw it on at first and it looked like his brain was exposed, poor alien PigPen. So I asked my husband what I could use and he said he had some TV cable in the garage. So I staple gunned it to the poor kid's head (as you can see in the picture above under "The Guys"). He whimpered for a minute but then he was glad not to be alien PP anymore.
Another tip: Do not start this project 3 weeks before Thanksgiving thinking you'll finish before the holidays start, because you won't. Even if you spend hours a day in the garage. Do this in the summer, really, take my word for it, because you won't be done until the first week in December and then you'll be scrambling to get all your other Christmas stuff done.

Posted in
Decor
|
Written on 8:10 PM by Cara
When you have a lakehouse it seems there is neverending work. It's either the watercraft, the boathouse, or the house itself. And since we bought a fixer-upper, well, it is an ongoing project.
When we bought it, it had been a "corporate perk house" when it was built and the people we bought it from had done nothing to it so it was filled with seafoam green and pink Southwest everything. And the boathouse was falling apart. So we had a new boathouse built. But Jimmy is not going to let other's do something he can do himself, so we basically had the shell built.
We put in all the lifts ourselves, etc. And now it was time for a storage building to keep all the "stuff" in. Oh joy. Luckily Dillon is getting old enough now to learn and help so that takes a lot of pressure off me. He was very proud of what they accomplished, so it was all good.
Boathouse before:

And the project begins:

Like father, like son:

Teaching the boy:

Here comes the supervisor to make sure everyone is doing their job:

When Jimmy was stuck up on the skis or on the scaffold, guess who had to cut the wood? At least I have girly gloves :)

What happens when you can't get a ladder in where you need it? You use the jetski lift.

And what happens when you can no longer build the outside walls from the inside? You make your own scaffolding over the water:


From the inside:

The Masterpiece finished. They were very proud of themselves:

Doesn't it look great? The supervisor approved, and another lakehouse project is done.
Posted in
Lakehouse
|
Written on 1:17 AM by Cara
I made a few baby shower gifts that are always a big hit and gets a LOT of use by the moms. Almost every single mom I have ever given these to call me within 6 months of the births to rave about how much they used them and how glad they were I made them.
Trimmed Burp Cloths: Super easy, just get some lace and other cute trim and sew it on cloth diapers. I only do it on one end, the part that goes over the shoulder, so the baby still has the soft side against their face.

Hooded Towels: Again, super easy and inexpensive (seeing a theme here?). These are just regular towels and matching washcloths, but they turn out really cute. They are great for after the baby grows out of the little newborn ones.


The How To: So many people have asked for directions so here they are:
Fold the washcloth diagonally and pin the corner into the middle of the long end of the towel
make sure the right side of the washcloth and the right side of the towel are facing each other:

Then line up one edge with the edge of the towel and stitch:

Then line up the other edge and stitch. Turn it back right-side out and you are done! Super easy and super useful!

Posted in
Baby Shower
|
Written on 6:06 PM by Cara
I might as well add this post and catagory since I seem to get asked about the shower about once a week. This will be easier than trying to link to the 2Ps thread.
The invitations: These are sent out as is. All I did was put a label on them and the PO sends them out. It's great for the invitees, and the mom-to-be called all freaked out when she got it since it was a surprise for her too.

The entrance to the house: I have these urns, so I just tied the balloons to bricks, set them in there and stuffed tissue paper in them. Easy, and inexpensive.

The Door: I made a diaper wreath for the door. Super easy, white styrofoam wreath, curly ribbon, diapers, stuff. Again, easy and inexpensive.

The entryway: I also made a diaper cake. There are many versions and directions for the cake and the wreath on the net, just Google and decide what design you like. I wanted to keep mine simple:

The table: I set the 2 different baskets of favors, the cake, the cake plates and forks, and a couple of candleholders on the table in the formal dining, just to the left of the entry:

The cake: The theme was "Baby Clothesline" and I got a very talented local lady to make a beautiful cake...isn't it darling? She did such a good job!

The favors: I made these for both the women and men. I stitched up the hats along one side, did the top with a rubberband, turned it inside out and turned up the edge. The blankets are just squares of fleece pinned with baby colored pins. Add a strip of paper with the hand-drawn face and a tag and taadaa:

The ladies got bath fizzies, the men and kids got chocolate bars:

The gifts and the Guests of Honor: I was lucky enough to borrow an antique carriage from one of the aunts to use as a centerpiece in the formal living and to hold some gifts:

The Mom and Dad-to-Be: A couple of wnderful people and well deserving. We had about 50 people at the shower and I was so happy it came out so well, these two deserve it.

Posted in
Baby Shower
|